
A simple guide to help your artwork print the way you expect
Canva is a great tool and perfect for creating quick, professional-looking designs.
However, it’s built mainly for screens, not commercial printing. A few small setup steps can make a big difference to your final result.
Following the tips below will help reduce the risk of print issues.
Before you start designing:
Choose the correct final size (A4, DL, business card, etc.)
Turn on bleed in Canva (File → Show print bleed)
Keep important text and logos at least 5mm inside the edge
This helps avoid white edges or text being trimmed off during finishing.

For the best printed results:
Use high-resolution images (300 DPI is ideal)
Avoid enlarging small images
If it looks blurry on screen, it will print blurry
Print shows flaws much more clearly than a screen.

Screens use RGB colour, while printing uses CMYK inks.
Because of this:
Colours may look slightly duller in print
Bright blues, greens and neon tones can change the most
Dark colours may print darker than expected
If colour accuracy is important, talk to us before printing.

Canva includes lots of visual effects such as:
Drop shadows
Glows
Transparencies
Soft fades
These effects are designed primarily for screens. When the file is prepared for print, they are often converted into images so they can be processed by the printing system.
Because of this, you may notice:
Slightly fuzzy or soft edges
Shadows appearing heavier than expected
Visible boxes or harsh edges around effects
Small colour variations
Drop shadows are the most common example. In Canva they are not true vector effects, so when exported they can become flattened images. This can make the shadow appear less smooth or more pixelated when printed.
To avoid issues:
Keep effects subtle
Avoid very large or very soft shadows
Check the file at the final print size
Ask us to review the file before printing large quantities
Printed jobs are trimmed after printing.
To avoid problems:
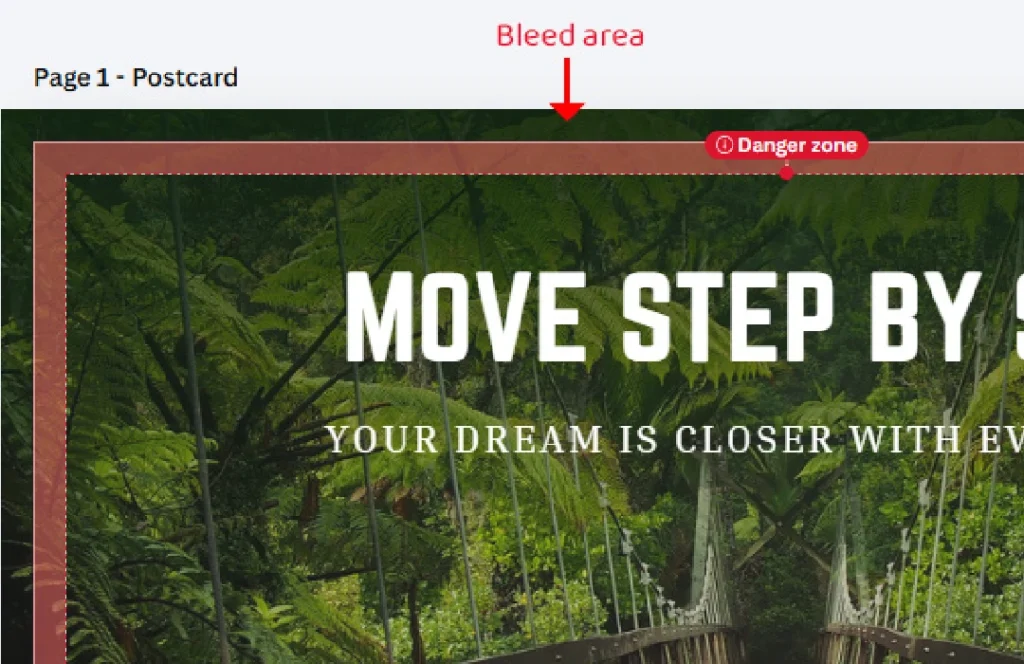
Extend backgrounds and images into the bleed area
Keep text and logos at least 3–5mm from the edge. Some print templates in Canva will show a ‘danger zone’ where you should avoid placing any text.
Don’t place important elements right on the trim line
A small amount of movement during trimming is normal in print.
For best results, export your artwork as:
PDF Print
With Crop Marks and Bleed enabled
Avoid exporting print jobs as JPG or PNG files unless we’ve specifically advised it.

Before sending your file, ask yourself:
Is everything aligned properly?
Are images sharp?
Is nothing too close to the edge?
Am I happy with the colour knowing print may vary slightly?
A quick check can save time and prevent reprints.
We’re always happy to help.
We offer pre-print file checks
We can adjust or rebuild artwork if needed
Our designers can help prepare your file for professional printing
Just let us know before printing large quantities.
Files supplied from Canva are printed as provided. While we’re happy to guide you, we cannot guarantee outcomes relating to colour differences, resolution, bleed or formatting.
"*" indicates required fields